The Ultimate Budget Philips 276E8VJSB Review: In-Depth
Posted on May 23rd, 2019
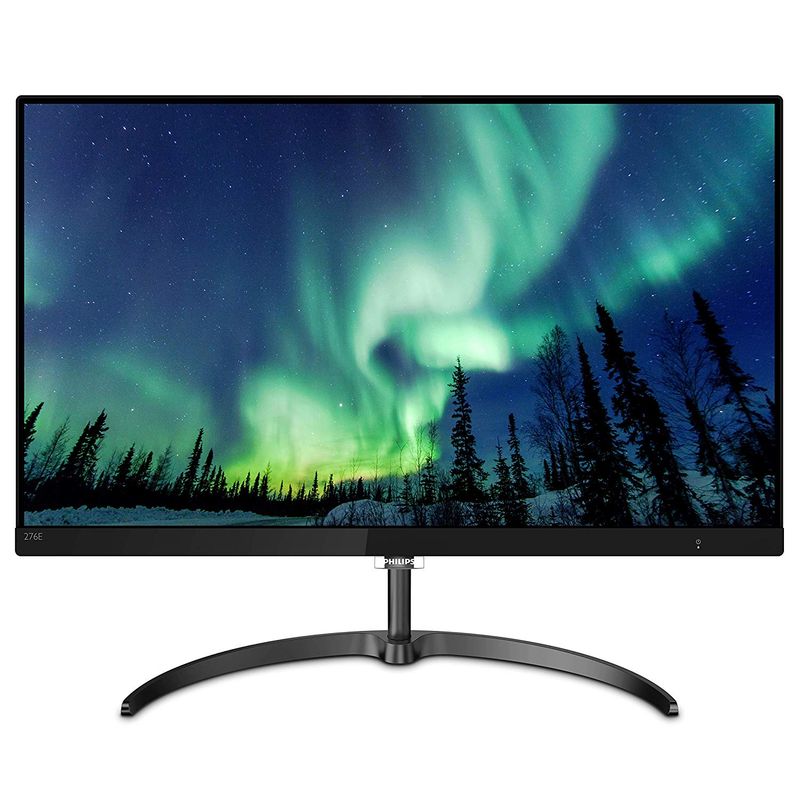
The screen has a moderate appearance from the front. The bow molded stand base and slim round and hollow stand neck are done with powder-covered metal, giving them a marginally profound and premium feel. The base bezel is lustrous dark plastic, while what the maker alludes to as a 'ultra-restricted fringe' structure is utilized for the top and side bezels. The bezels here contain a thin board fringe around the picture, which mixes in well when the screen is turned off, close by a thin hard plastic external part. Counting the two parts, the bezels are ~6.5mm (0.26 inches) at the top and sides. The base bezel is ~20mm (0.79 inches), including a silver of obvious board fringe. There is likewise a straightforward tag-style Philips logo in the focal point of the base bezel, hanging down ~10mm (0.39 inches) underneath the base bezel. The screen has a light matte enemy of glare complete, as investigated later.
The OSD (On Screen Display) is constrained by a joystick situated underneath the tag-style logo. We found the situating of the joystick somewhat unbalanced and you must be very firm and unequivocal with your development to ensured it enlisted a contribution to the right bearing. In any case, regardless it wasn't the least natural nor most disappointing OSD experience we've had. The video underneath goes through the menu framework. Note that there's a genuinely brilliant pinprick-style control LED confronting advances towards the privilege of the base bezel. This can't be incapacitated in the OSD. We didn't discover it diverting, however for clients who do they may need to get shrewd with a smidgen of dark tape or something like spread it up.
The picture underneath is a large scale photo taken on Notepad with ClearType handicapped. The letters 'PCM' are composed to help feature any potential content rendering issues identified with strange subpixel structure, while the void area all the more obviously demonstrates the genuine subpixel format close by an unpleasant sign of screen surface. A light matte enemy of glare screen surface is utilized, with a genuinely smooth completion. This permits genuinely direct discharge of light, without the quality of dispersion seen on some matte screen surface. The smooth completion gives just a slight graininess when seeing more brilliant shades, far not exactly numerous models of this kind of size and goals.
As appeared, the screen utilizes the standard RGB (Red, Green and Blue) stripe subpixel design. This is the default expected by current working frameworks, for example, Microsoft Windows and Apple's MacOS. Macintosh clients needn't stress over content bordering from less common subpixel formats, while Windows clients don't really need to go through the ClearType wizard. They may even now wish to go through this and roll out certain improvements as per their inclinations, in any case. The subpixel format and plan is ordinary and we had no subpixel-related concerns identified with sharpness or content lucidity on this model.
The Real-Life Review
The Philips 276E8VJSB incorporates a scope of 'SmartImage Game' presets; 'FPS', 'Hustling', 'RTS', 'Gamer 1', 'Gamer 2' and 'LowBlue Mode'. These presets essentially alter different settings in the principle OSD and don't accomplish anything you couldn't with manual modifications. The exemption to this is the 'Brilliant Frame' include which features a particular region of the screen – this is just open in certain presets. We address the presets quickly in the OSD video yet won't return to them here. Rather, we'll be investigating different other manual modifications in the OSD. The table underneath gives gamma readings taken utilizing a DataColor Spyder5ELITE and white point estimations taken utilizing a BasICColor SQUID 3 (X-Rite i1Display Pro), close by general perceptions.
Our test framework is Windows 10 based, utilizing a Nvidia GTX 1080 Ti associated utilizing the provided HDMI link. No extra screen drivers or ICC profiles were explicitly stacked. The screen was left to keep running for more than 2 hours before readings were taken or perceptions made. Beside our 'Test Settings' the place different modifications are made, accept plant defaults are utilized. A significant advance likewise must be performed in the designs driver whenever associated with a Nvidia GPU through HDMI. The shading signal must be revised to a 'Full Range RGB' signal as definite in this article. When seeing the figures in this table, note that for most PC clients '6500K' for white point and '2.2' for gamma are great focuses to go for.
Out of the crate the screen was brilliant with a cool and somewhat green tint. Gamma following was great, however, and the picture showed up reliably rich all through the screen. A sRGB imitating mode is incorporated which mitigates immersion a little so it all the more intently compares to the sRGB space. Despite the fact that the local extent doesn't generally broaden greatly past this, so most clients will probably need to utilize the local range. In doing as such, they additionally approach the shading diverts which are closed off utilizing the 'sRGB' setting. Following remedies in the OSD, according to our 'Test Settings', a pleasantly adjusted, genuinely distinctive and shifted picture came about. The gamma following here is appeared in the diagram underneath, with great adherence to the ideal '2.2' bend.
